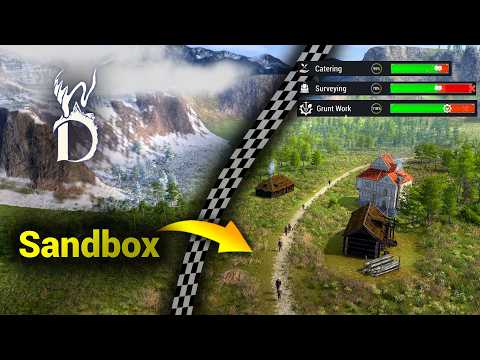
This is the story of implementing what I've learned into a gridless, interactive, world-building sandbox game called Minor Deity.
Minor Deity on Steam: https://store.steampowered.com/app/3876240/Minor_Deity/
Minor Deity Discord Server: https://discord.gg/2NEb4HxwhF
If you’ve been watching my videos for a while, you should have encountered Minor Deity’s terrain shader output at some point. It’s the canvas forming the base of the world, upon which everything finds its place. And, while I have mentioned in a previous video how I create the terrain mesh and the tessellation part of the shader, we haven’t really taken the terrain apart to see how the textures are sampled and blended to produce the final pixels on screen. The overall goal is to obtain a terrain that looks realistic and responds dynamically to real-time changes, without noticeable hard edges or repetitive tiling ruining the illusion.
In the video in the top-right, we spend a good amount of time looking at how changes in the weather affect the visuals. We also discuss how we get the weather and other data to the GPU for the shader to consume, so we won’t go into that detail again here. Feel free to pause and watch that one first if you haven’t seen it. Today, we’re going to focus on what happens next: how the shader takes all of that data and turns it into the individual pixels of a realistic, seamless terrain. And as it turns out, building one of those pixels can involve up to 14 different layers. So, let's take the terrain apart and see what goes into every pixel.
Even though the objects that you render on top of the terrain also break up the texture patterns, for now, let’s leave only the terrain on and not render all kinds of things over it, so we can see clearly what happens on the terrain itself. Before we get to the layers, a quick word on the underlying grids. If, for every pixel, we simply pick the square and hex it falls on, and sample the weather and other visual data for that square and hex, we will clearly see those grids visualized in the terrain. For example, it’s clear that the foliage cover is determined per larger hex, while cliffs and the beach edges are determined per smaller square. To get rid of these grids, the shader performs two sets of bilinear interpolations for each pixel to obtain weighted average conditions of the four closest hexes and the four closest squares. I’ve implemented a slider that shows how adding the interpolation takes care of the most jarring edges, completely hiding the grids. That’s a great start, so let’s get back to the layers.
00:00 Introducing Layers
01:19 Basic Sampling and Interpolation per Hex and Square
02:27 Grass, Shore and Cliffs
02:48 Height-Based Blending
04:43 Two Sub-Layers per Layer
06:12 The Other Four Layers
07:45 The Cost of Combining the Layers
09:25 Cost Heatmap
09:48 Final Polish
10:58 Call to Action




![[유니티 꿀팁 시리즈] SOLID 원칙_LSP](https://img.youtube.com/vi/mHCnYmYehS8/hqdefault.jpg)